Wednesday, August 3, 2011

Up Up And Away!

House has been a wee bit stubborn about lifting off.  Dino has been working HARD.  He has given a lot of hours and endured some severe pain on his not-quite-healed achilles injury.  But after several battles, house finally gave in today.

Before

After
Yup.  That IS a 100 year old, 3 story, 2700 square foot house 2 feet up in the air.  You can see right through to the other side.


Hey.  Wait.  Is that a crib in my kitchen??


And I seem to remember a fireplace in the den...


Oh!  Found it!!


Now this is how you hang a door!


The kids are checking out the future rec room.


Thank-you Dino for your willingness to take this on and create our dream home.  
We love you!!
xox 
S, J, S, E and C

Monday, August 1, 2011

A New Look

My beautiful god-daughter Maddie is getting her room redone.  Darla (her mom) and I have looked through pictures and found ideas.  Furniture has been purchased.  Room purged.  Paint chosen and walls done.  

We have managed to send five of our kids off to camp this week leaving us with my youngest and Maddie (oldest of our combined clan).

So.  We will shop for the last details.  We will arrange.  We will finish up projects.

And hopefully soon, we will show you the new look.

In the meantime, here are the before pics.


Looking forward to the big reveal!

Wednesday, July 20, 2011

Residual Effects of the Snowball

After the 3rd floor was done, I still had this little pang in my soul.  I wasn't done.  I wanted more projects.  I still needed to create.

So I trekked around the house and it wasn't long before I found a spot to work on. 


Our second floor bathroom is the where all four kids get ready in the morning.  There is one sink and it's not huge but it is where the mirror hangs.  I'd been thinking about tucking a dresser-type unit into the spot pictured above to create a more practical space because then I could hang a second mirror and the girls could do hair there, freeing up the sink.

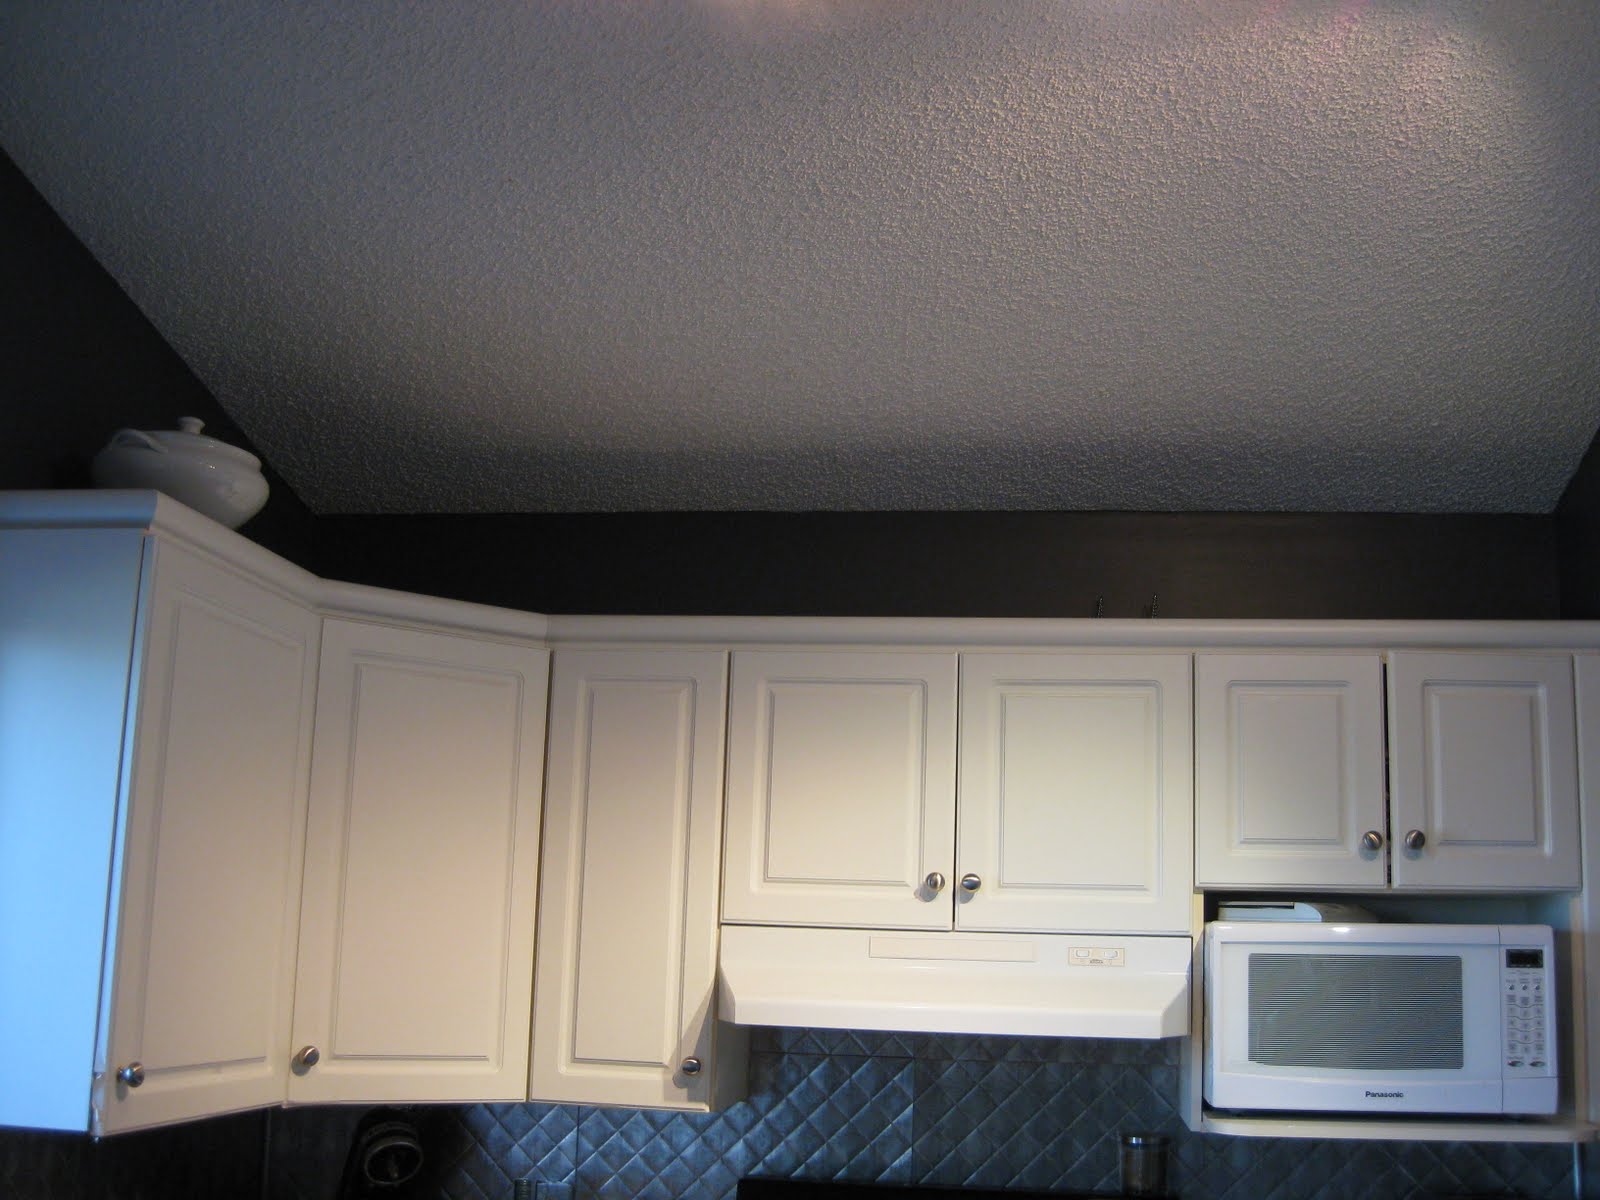
Now, back in January, I decided that I was sick of this guy...keeper of the microwave in the kitchen.


I found this great unit at Home Sense which fits perfectly in the space, matches the style of the kitchen, and gives me lots more storage and counter top.


I wasn't sure what to do with the basket drawer unit, so I just popped him on a free wall in the dining room to await his fate.


Hoping against hope I measured, and big sigh of relief...he was a perfect fit!!  I painted the wood part white, found a fun mirror at Goodwill which I sprayed to match and then dug out a little shelf I'd been wanting to find a home for.


I hung the mirror low so that the girls can see in it easily.  All the hair supplies and other items from those green boxes in the first picture are now tucked away in the drawers.  I am still considering spraying the baskets white too...what do you think?

Sunday, July 10, 2011

News, Tears and Moving On

I have news...
  
Thanks to my fab friend Ellen, my blog now has a GADGET.  It's over there on the left and if you want to receive my new blog posts via email, all you have to do is put your address in and presto!  Cool huh?  And don't forget if you are out there reading this but have not logged in as a follower, I'd love to have you join and see your teeny picture down there at the bottom!  


And now the tears.

This is what our house looks like today:


Our deck, sunroom and front porch have been removed.  Endless hours of work have gone into preparing it for the big day.  In several days it will be sitting 2 feet up in the air. 

As you can imagine, things are not terribly pretty in there.


But for now I will take a deep breath and look forward to a time when I can show you some exciting after shots.


I did shed a few tears as I left my sweet house a little note though...


Moving on, I thought we'd cheer up by talking about an crazy easy way to give a room or piece of furniture a big new look.  KNOBS!! 

Soon I will be visiting one of my favourite stores, Anthropologie.  A year ago I bought 30 knobs there and redid my entire kitchen.  I am still in love with them.  They gave the room a really different look.

Before

After

I got a dresser for baby girl's room a bit ago and after paint, added these:

knob can look cute as hook too.
Apron hanger in kitchen.

Baby Girl's room.

Lee Valley has a huge selection of knobs.  You might find some in the Michael's cheapie bins too.  Or any home store.  Have a look around.  It's an easy, quick redo that gives you a fun update!  (And you can always sell your old knobs on Kijiji!!)

Monday, July 4, 2011

Hanging

The other day I did a few hanging jobs for my friend Meire-Anne.

We started in her bedroom where I built and then hung her new headboard.

Before

After

Then we hung a beautiful fabric wall hanging that she brought home from one of her trips.  We used those Ikea wire curtain hangers.

Before

After

I also hung some gorgeous colour photos a friend gave her.

Before

After

And a couple more sweet trip momentos.


So let's talk tricks.  

If you want to hang pictures at the same height, it works great to measure down from the ceiling to the height you want.  Much easier than fighting with the tape measure from the floor up.  Now, if you should happen to be working in an old house where the ceiling is not quite level...you can run into issues.  But the same goes for the floor so a crooked house is just trickier all around.

If you want to hang a collage, a really great trick is to trace all your pictures on kraft paper.  Cut them out and label them so you can keep track of which is which.  Lay them on the back of their corresponding picture and mark where the nail should go.  Then you can tape them on the wall and work them around until you are happy.  This might take awhile!  I have left collages over night to see if I still like it in the morning.  Once you are satisfied you can literally put the nail right through the paper on your nail mark and then just pull all the papers down and presto - ready to hang!

Meire-Anne's bedroom wall.

I'll leave you with another adorable set of souvenirs I hung for Meire-Anne a few months ago.  Love those cutie turtles!


Happy Hangin'!

Wednesday, June 29, 2011

The Snowball Effect ~ Part Three

As you may remember, when I moved my shelf from my bedroom to my office, I was left with a blank wall.  

Original shelf location.

No fear!  (I said to myself)  I knew exactly what I wanted to do.  I would put my fab green accent chair and a lamp there and then fill in the empty wall with a collage of pictures.


I started shopping for frames.  You might be surprised at how many frames are out there in thrift stores.  It took a bit of driving around and sorting through, but I found a nice collection.  I also had a few of my own.   Then I took them outside and spray painted them all white.  When you put up a group of frames that are varying shapes and sizes, it's wise to keep them all one colour.  I planned what I wanted in each one. It's nice to have a variety I think.  I chose some photographs that were special to me.  

Also a sweet poem that my oldest wrote for Mother's Day.


 I framed an old bill from my dad's commercial fishing business.  (He has been retired for years)


And I bought a cheap blackboard and framed it to use as a spot to write myself inspiring notes.  
(Radical by David Platt is a book that I am currently reading.)


And then, a hitch.  I fell into some free furniture.  Really nice and useful stuff that I could not refuse.  I suddenly had a great wardrobe that needed a home in my bedroom.  I tried it on the blank wall but it didn't work there.

So I moved my vanity from the wall it was on and put the wardrobe there.  The green accent chair looked nice with it so I added it.


Which left me with the vanity.  There was nowhere else for it but my empty wall.  I was really set on the collage though.

So...


I was feeling pretty happy with things.  But green accent chair kept whispering to me as I passed by, "I'm lonely!"  So, I decided to give him some company.  I have had a full length standing mirror since I was a teen.  I've thought of painting it about a million times.  Here it is in the back corner of the closet area in our room.  Of course I did not remember the before picture until I'd taken it apart so I just propped it there.  Sorry.


I had wanted to try spray primer so decided this was a good project for it.  I took the pieces of the mirror outside and primed.  


It worked great!  And before you knew it ~ presto ~ a friend for green chair.


In case you are wondering what is going on with the wall behind the mirror...that is where I store my scarves.  It is one of those Ikea wire hanger thingys with the little clips.  I tied a piece of ribbon and hung it from each clip, then strung my scarves through each one.


And that is the end of my snowball adventure.  There were a few residual effects...but we'll discuss those at a later date.

HAPPY LAST DAY OF SCHOOL EVERYONE!!!

Thursday, June 23, 2011

Shelf Arranging

One of my favourite spots to arrange is the shelving on the top of kitchen cupboards.  

I find this space is handy for:
~storing rarely used items
~prettying up the kitchen
~introducing an accent colour
~creating a seasonal look

Here is Darla's new summer kitchen look.
(Many, many apologies for the photo quality!  I clearly need to get out my instruction manual and...you know...read it.)

Before

After


Before


After


Before

After


And the shelf got a redo also.
Before
After


When you are choosing items to set out on shelves, less is usually more.  Stick to a few colours and try to find a theme.  For example, on the shelves above the cupboards I did white with some purple and green and stuck mostly to platters and serving dishes.  I kept the same colours on the shelf above.

I want to say a big WELCOME to my new followers!!  I'm really excited to see you all hanging out over there (on the left side of the blog).  Please ask questions if you ever have any!