Thursday, January 27, 2011

The Sewing Room

My sister in law, Corinna, is a busy gal.  She has a business called Lilypad where she sells all sorts of fun stuff like baby slings and purses and really cool aprons.  She also sells Norwex products.  And she has 3 kids.  Did I mention she homeschools?

So, her sewing room space is an important multipurpose room for her.  And, as happens to the best of us, it had gotten away from her a bit...or, in her words, had become "a scary disaster area".

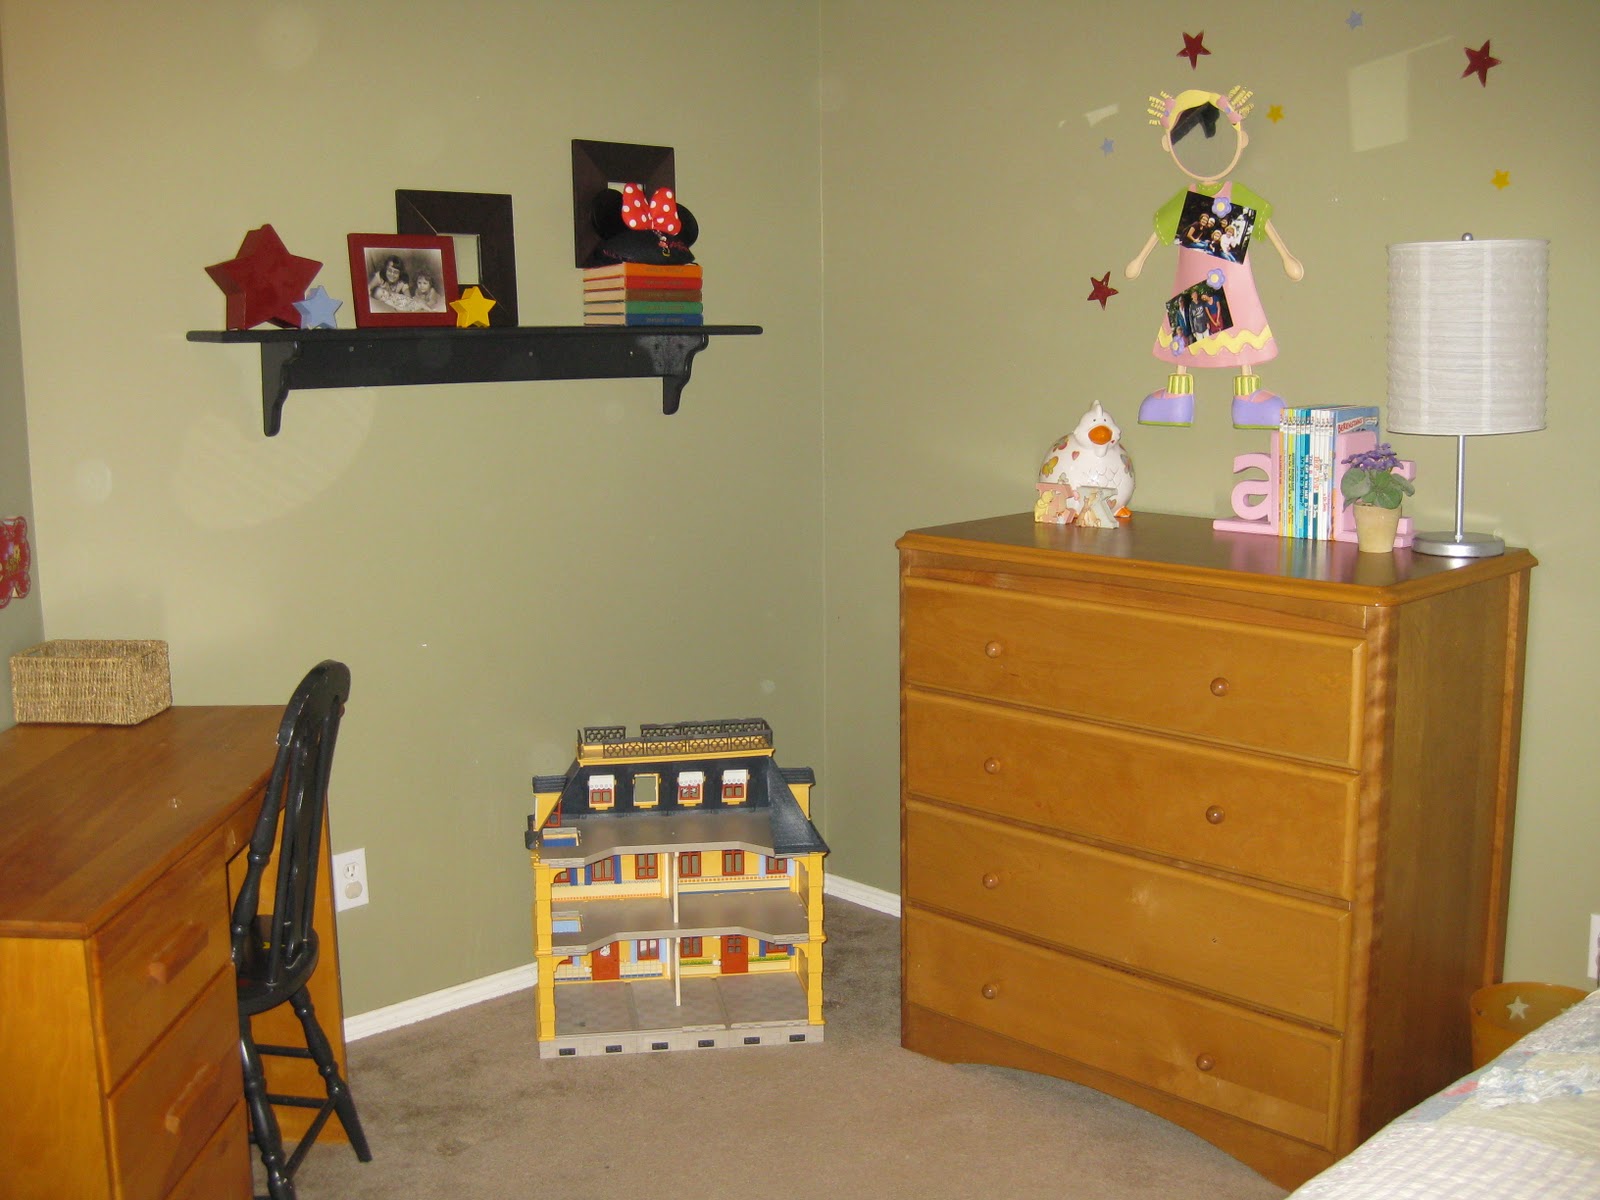
A few weeks ago I went over and left her with some homework.  Here is what it looked like that day.


The assignments I left Corinna with were to purge as best she could, move the large shelf into the closet area, and purchase some see through storage bins.  Today I returned and we spent about three hours making her space pretty again.

First we worked on fabric.  As you can imagine, Corinna has a lot.  She sorted it into categories and then we filed it in clear bins for easy access.


We put all the fabric bins on the large shelf in the closet along with a couple bins for current projects and a bag of items to mend.


Next, we tackled the built in shelf.


I tidied up Corinna's products.  One shelf for Norwex and one for Lilypad.  I also organized all her gift wrapping items onto the 3rd shelf.  On the floor we have a few items that are rarely used.


On to the desk.  
We sorted all the items on top and inside and gave every last safety pin a home.  One side of desk drawers became Lilypad storage and the other side Norwex. 


 We used storage containers that Corinna already had but just moved them around a bit.  


We also moved the filing cabinet and set of drawers to the space between the wall and desk.  We were able to house all Corinna's scrap booking items in the drawers which gave us more bins for fabric.  Yay!


The end result.


I know it feels overwhelming when you find your space has gotten out of control, but if you follow these steps, you'll be back on track in no time.  First, purge.  Corinna and I had a bag for garbage, a box for give away, and another box for items that needed to move to a different room of the house.  Next, sort.  Put all like items together.  Figure out where they should be stored that will be most convenient for  you.  If it's hard to put something away...chances are, you won't.  Finally, don't forget to practice keeping everything in it's place.

Monday, January 24, 2011

Easy DIY

Paint is an amazing friend.  Even this sad little white plastic urn could transform from this


to this, with a coat of my fav turquoise paint.  


And it only set me back 49 cents!

All credit for this experiment goes to my friend Kristin who transformed a gross gold urn into a fab white  planter this past summer.  Thanks Kristin!

So what can YOU experiment with?  

Friday, January 21, 2011

Kid Room Reorganize


January is a great time to reorganize the kids' rooms. New Christmas toys need homes and there is usually a bit of mess left over from having the kiddies around for 2 weeks.  A fresh room always feels nice in the New Year! 

Last week I worked on two of my god-daughters' rooms.  What their mom (Darla) and I did first was to decide which toys each girl most liked to play with in their rooms.  In this case, the family has a great basement space for extra toys, so we could be choosey about what we kept in the bedrooms. Once we decided on what would stay, we went through the rooms and took out all the other toys. Some got purged, and others moved to the basement.  I rearranged the furniture to create new play areas.  We also went through the closets and sorted the clothes.  

Let's have a look...

Emma Kate has an amazing collection of Playmobil but it can be difficult to store so many tiny pieces.  I chose to load them all into her bottom dresser drawer so that clean up would be really easy and convenient.  The few pieces that were too big for the drawer went in a basket under the bed.  I kept the Playmobil house out on her floor for easy access.  


I tidied up her dresser...
Before

After

...as well as her desk.  Inside I gave her small baskets to store her art items in.
Before
After


Darla sorted through the closet and put the clothes in order by category...dresses together, sweatshirts, t-shirts, etc..  By sorting clothes by length it gave us more floor space to work with in the closet. 
Before
After


The final result.


In Sadie's room we chose to focus on two categories of toys.  She loves her babies, as well as her house area.  So again, we sorted and purged.  

I rearranged her furniture and cleaned up the top of the dresser.
Before
After


Using the space at the end of the bed, I created a kitchen play area.  All the dishes and other kitchen toys are in a basket under the toy sink.


All the baby items got stored in the closet.  Things like strollers are sometimes hard for little ones to put away neatly, so this way the closet doors can get shut when items are not in the straight little line up I left them in.  
Before 
After


The babies themselves got stored in this unit.


I know it can seem overwhelming, but both these projects combined only took 3 hours.  Once you figure out your plan for the room, the sorting and rearranging can be done fairly quickly.  Ask a friend to help you if it feels like it is too much to tackle on your own.  

I can't end without telling you that the real work begins once the rooms are in order.  Now Darla has set up a system by which her girls will practice the habit of keeping "everything in its place".  You know best what sort of reward/consequence works with your kids...so be sure to make it a family plan to maintain your new space.  The more you practice, the easier it gets.  

Thursday, January 13, 2011

Bye Bye Christmas

First I must apologize for being so late on this.  Most of you have likely had your Christmas stuff put away for days (weeks?). But I am just so excited about my new pack away Christmas plan that I had to share it.

Let me tell you my normal routine.  Sometime after the New Year, I walk around the house and gather every single Christmas item and bring it to my dining room.  Once I've double checked that I haven't missed anything, I put it all in boxes, and store it in my basement.  The boxes are labelled of course and I try to put similar things together...garland in one box, ornaments in another...you get the idea.  Often I am so sick of it that I just stuff it all in with no particular order.  But this year, it HIT me.  An idea that I am in love with and DUH, why on earth did I not do this before?  I am sure you are all doing it this way but just in case...here it is...

THIS YEAR I STORED ALL MY CHRISTMAS DECOR BY ROOM!!!

All my living room and dining room stuff is in one box.  Kitchen stuff in another.  Den...one box. My 3rd floor is all together.  Next year I will not have to pull items out and wonder..."Now where was this hanging last year?"  I will be able to decorate one room at a time without having a huge mess of unpacked boxes all over my dining room.  I will not have to dig through box after box looking for one item.

Now, admittedly, I do own a lot of Christmas decor...but this idea works no matter how extensive your collection.  All you have to do is adjust your box size.  Or, package two rooms in one box.

So, if your stuff is safely away till next season, just tuck this tip away and give it a whirl next year. Thanks for letting me share my glee!

Saturday, January 8, 2011

From Dreary To Dreamy

My super sweetie friend Kristin has started up an exciting new business.  She takes an old, dreary piece of furniture


and turns it into something simply dreamy.


Love it!  She adds unique touches like gorgeous knobs, and even the inner part are special


...lined drawers.  Lovely! 

If you have some furniture you'd like Kristin to work on, or if you want her to look for a specific piece to revamp for you, OR, if you want to be the owner of this little number, please contact her.  Better be quick though!

Kristin Richison
bkrichison@hotmail.com
204.774.7058

Saturday, January 1, 2011

Tips for a Pretty Organized 2011

I am not sure why January is reorganize month, but every year I get this crazy itch somewhere around Boxing Day.  I just can't wait to get the new gifts put away, take Christmas down, maybe a little rearrange here, little redecorate there?

If you feel the same way, then choose a small area, and try out these three tips.

1.  PURGE
We all have things we don't need or use, so start by removing all the items in your chosen area that you no longer want.  Some of us are better at this than others, so if you find this a challenge, try having a friend over who can help you be firm.  Another trick you might try is to have a "holding box".  When I come across an item that I am pretty sure I need to purge...but can't quite bring myself to get rid of yet, I put it in a box and store it.  If after a few months I have not missed it, then I find it easier at that time to pass it on.  

2.  SORT
Sort all the items in the area you are organizing into groups.  Put like items into boxes, baskets or whatever containers best fit your space.  A dollar store is a great place to find inexpensive containers for smaller areas.   Once you have all your items put away in their spots, label containers if appropriate.  Don't forget that a miscellaneous box is always useful for those odd items that just don't fit anywhere else.

3.  PRACTICE 
Now practice keeping "everything in it's place".   Give yourself a week or so to practice keeping your newly sorted area...sorted.  Show family members the new system.  Get everyone involved in keeping the area organized by always putting items back in their spots.  If you find something isn't working, make adjustments.  Once you have one area mastered, move on to another and repeat the process.


Purge ~ Sort ~ Practice

HAVE A PRETTY ORGANIZED NEW YEAR!