Monday, December 20, 2010

An Upper Room

Doesn't that sound romantic?   What else do you call a gorgeous second floor space that houses guests, toys, crafts, sewing supplies and a television?  Multipurpose room just doesn't do this spot justice because it truly is a beautiful, cozy, romantic space.

This past week I had the great pleasure of working with Leah to whisk her sweet Upper Room into guest ready shape.  After looking at some pictures of her room online, I suggested she buy some extra storage boxes.  We began in the closet which, happily, is quite large.  Leah had a lot of items already organized, so we took out everything that did not have a home, and sorted it.  


What I appreciated so much about Leah was that she really wanted to have her grandchildren's toys, games and craft supplies easily accessible to them.  So that is where we started.  We put all the games on the lower shelf so that the kids could reach them easily.  We stored gift wrap, cards and gifts in the baskets on the top shelf.  Then we put a box in the corner of the floor for tall rolled items. Anything that could go into appropriate drawers went there.  


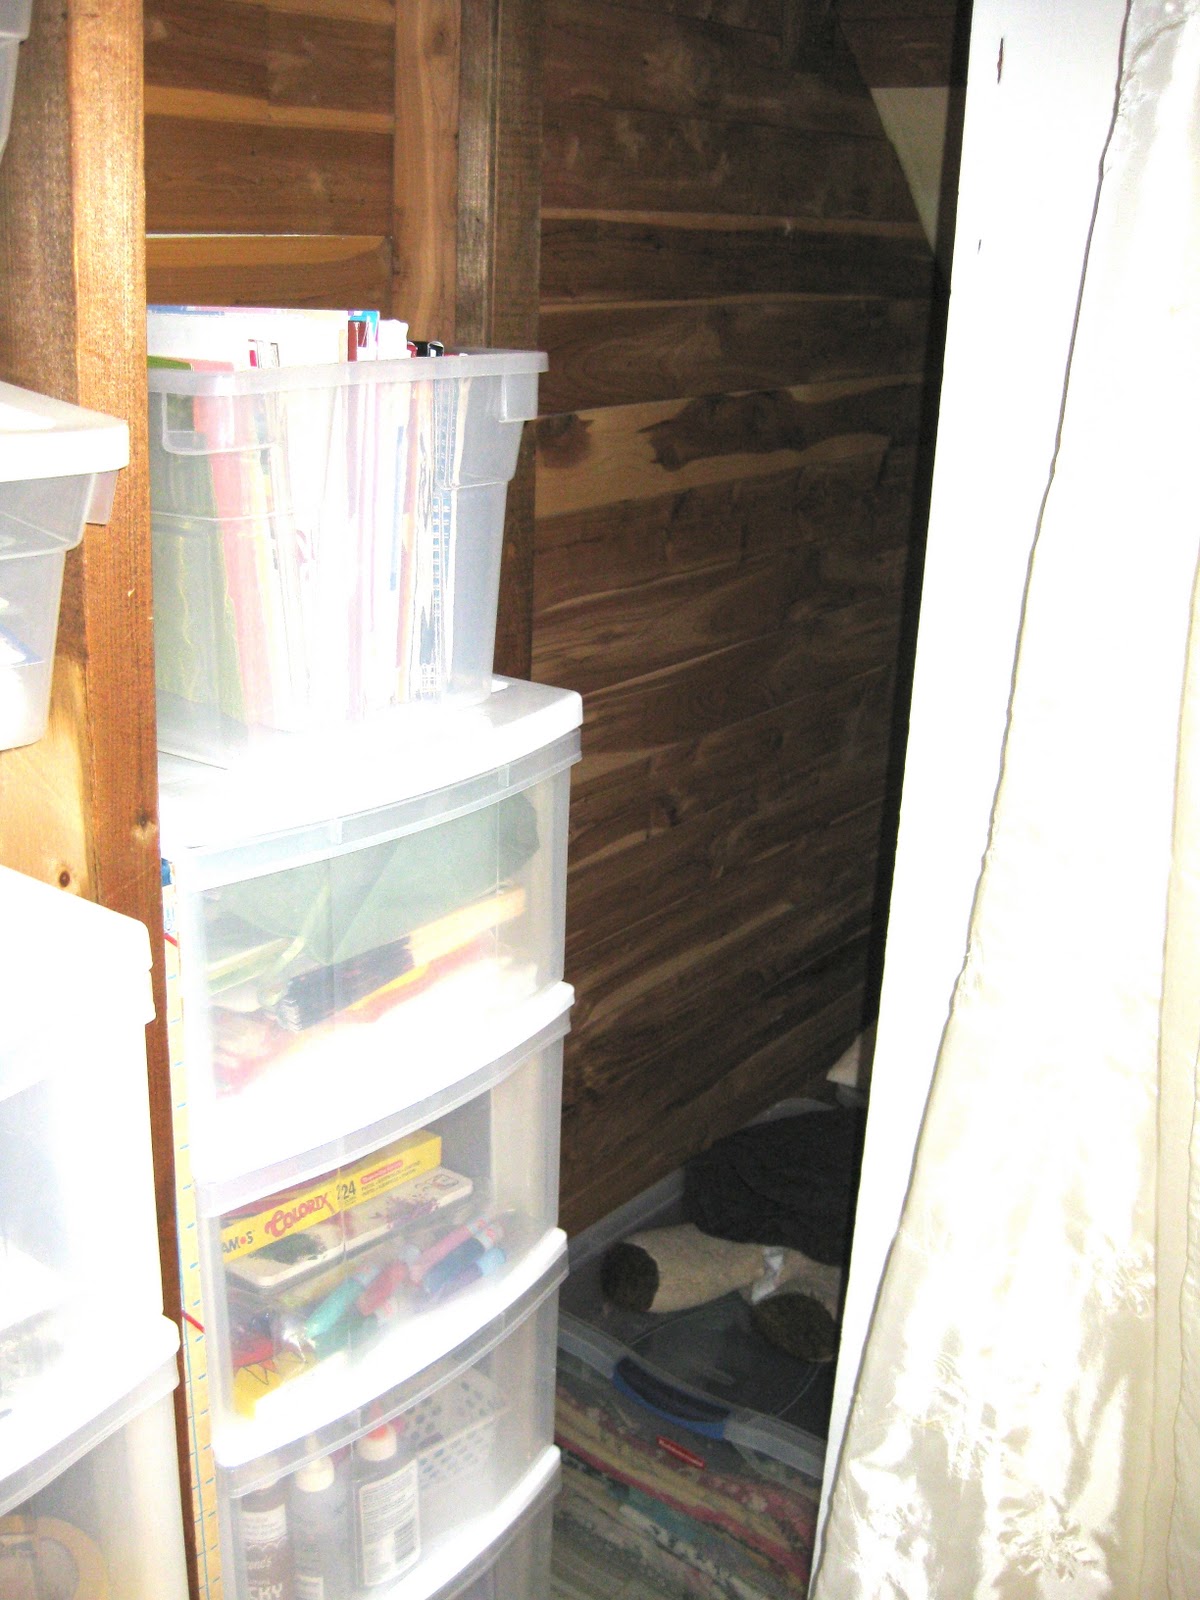
Next we emptied this space deep in the closet.  There were a few items here that made more sense stored in the basement.


We took 2 large plastic bins filled with fabric and put them in the newly emptied space.  It may look tight, but Leah can actually fit in there and get to her fabric...and since it's in clear bins, she can easily see what she wants.  (The bins are at the very bottom on the floor.)


Our next project was the toy shelf.  This is the granddaughter area.  We sorted through the toys and Leah did a great job of purging.  


She had purchased some fantastic metal storage baskets so we put all the girlie toys into them and stacked the shelves.  


Finally, we put all the dolls and stuffed animals into a basket on top.  Leah has this pretty cover on the shelf to keep the room looking polished.  We tucked the stroller into the space where the boxes of fabric had been before.


The rest of the room needed some rearranging.  We moved the couch over to make room for the basket drawer unit.


Ta-da!  Now guests have a spot to put items when the couch becomes a bed.  As well, we gave Leah what my mom would call a "couch basket"...a place for the remote, pen and paper and all those items you wish you didn't have to get up to go get.  It also gave more focus to the art...which is gorgeous!


Finally, since the little drawers had moved...


we pushed this beautiful t.v. unit over to cover an outlet, and then moved the chair beside the door.  We cleared the top of the unit and put 2 lovely boxes on top that are a great match to the room.  The lamp fit nicely into the corner to give light to the sewing table area.


So?  Beautiful, cozy, romantic?

With time left over, we tackled the pantry/computer area as well.  By moving a filing cabinet from the pantry side of the computer desk to the office side, we ended up with enough space for Leah to purchase another shelf for more storage if needed (under the black double hanging baskets).  We also pulled all the pantry items out and resorted them into categories...baking, soups, snacks, etc..


It was a productive morning.  Thanks for sharing your spaces with me Leah!

Monday, December 13, 2010

More Holiday Fun

Not only is Darla the best BF a girl could ever dream up in her head, she is also very generous about letting me experiment.  She is always up for rearranging, reorganizing, painting or really any new decorating idea I might want to try.  Her house has given me hours of practice so BIG thanks for that to you Darla!!

So, a few weeks ago I got to work on her 2010 Christmas look.  Here are some of the results.


Darla's home has lots of great opportunities to add a little zip that are up and out of the way...


but that doesn't minimize the impact!  (I LOVE that fabby deer plate)


How about a handy spot to store a few extra little pressies?


What this space is missing however, is a mantle.  We were able to solve that challenge last year...


What is really fun is how easy going Darla is about putting stuff away for awhile, which makes it very exciting to deck out an entire shelf
                                                                                    

or china cabinet.


Merry Christmas Everyone!

Wednesday, December 1, 2010

Easy Christmas Punch

A very merry December 1st to you all!  For those of you who cringe at the thought of decorating for Christmas, here are some easy tips that pack a lot of punch!

Take your couch from ordinary...


...to deck the halls in about 3 seconds flat.


Or how about taking your wall art from everyday to holiday with two easy moves?


Why not switch out your regular look


...for some festive glam?


None of these ideas took much time.  What they did take was a bit of forethought.   Keep your eye out over the year for holiday items that could work in the same spot as your day to day favourites. I am a big fan of switching out decor rather than adding it during the holidays.  Less clutter and chaos keeps that space of yours feeling calm and peaceful, but gives a cheery holiday look that will welcome family and friends.

I store my items in labelled plastic bins.  At holiday time I bring them up, switch it out, and store the day to day items back in the bins until it's time to take the holiday stuff down...then I switch it out again.  Easy, breezy.

Thursday, November 25, 2010

Homeschool Challenge

Homeschooling is a daunting undertaking...so many changes to a mom's life are involved, but what I immediately think about is the physical change within a homeschooler's space.  How will you have a classroom in your home without LOOKING like you have a classroom in your home? Exactly the sort of challenge that I love!

Arlene decided to make her dining room her classroom when she planned to homeschool this past Fall.  Here is what it looked like while it was still a normal dining room.


She bought 4 shelves from Ikea and sent me some pictures.  I gave a suggestion for how to hang them, and then once her handy hubby had them up, I went over.  She got out all her stuff and we started sorting.  Her daughter is in Kindergarten this year, so Arlene is just starting her journey.  We wanted to make sure that she had lots of room to grow.  We used those fabby Martha Stewart baskets that I love so much to hide the not so cute items that she needed in her new classroom. Other items we just put on shelves on their own.  Still other things needed to be edited out...some to another space, some to the garbage.  For the upper shelves, we placed decorative items with the knowledge that as Arlene needs more space, she can always switch them out with school supplies.  Finally, there was the question of books and manipulatives.  In a traditional classroom, these take up a lot of space!  So we got matching baskets to line up all the way across the floor. Some were empty but we knew that they would gradually fill up as time passed and supplies got added.

The result?


A classroom disguised as a dining room!

Tuesday, November 9, 2010

Closets Closets Closets

With new carpet and freshly painted walls, my friend Dianne was ready to tackle putting her belongings back into her closets.  Between her master bedroom, spare room and computer room, she had 3 spaces that she was using for clothing, office supplies, odds and ends, and some pantry items.  After studying her pictures, we made the decision to purchase a storage unit for the computer room closet, as well as some super cutie Martha Stewart boxes to use as needed.

Can I just take a moment here to say that the MS fabric boxes with the two tone trim and little label spot are so handy and great looking!?  Love them!!  I even convinced my husband to buy some.

Anyway, my goal for Dianne was to help her to get all of her and her husbands clothing into one closet. She had previously been storing her stuff in the spare room.  We sorted her items into winter and summer, packed the summer away, and then loaded the winter into her master closet. Some things that had been hanging we folded and stacked up top which helped open up more space on the rod so that everything fit easily.  We gave her purses a home on top of the shoe racks.  She even has space for more shoes - yay!

     
After
Before


In the computer room we sorted items into boxes and ended up with several empty shelves.  The spare room closet was able to be completely cleared except for the vacuum.  Imagine, two nearly empty closets!!  Now that all of Dianne's belongings have homes, she'll be able to maintain her new spaces easily.

Computer Room Closet
The first three closets went so quickly and were such fun, we thought we'd tackle her entrance closet as well.  

After
Before


I think the results speak for themselves.  And the best news?  Dianne was so inspired that the next day she took on her computer desk and whipped it into shape all on her own.  

Friday, November 5, 2010

Art Closet

It only seems fitting that the launch of my new blog should feature a project done at my friend Ellen's house, since she is my super talented blog and business card designer.  As you can see, her children's art closet had developed a few piles.


So, we pulled everything out, sorted it into categories and then gave every single item a new home.  Ellen wanted to use what she had so all the boxes, containers  and the standing drawer unit you see were items that were either in the closet already, or in another room, not being used.  Every container and drawer got a label, so that the kids would have no excuses about putting stuff away.  The kids like to display their masterpieces so we put up a clothes line for them…even the cutie little clothes pins were items just laying around looking for a job to do.


Latest report is that this space is now being maintained easily by the kids.