Wednesday, June 8, 2011

Office Unveiled


My lovely friend and carpool buddy Ellen wanted an office update.  She works from home so it's important for her to have a space she enjoys spending time in.  She has a great office with double doors right out onto her deck.  Her hope was to create a sort of sunroom look with an outdoorsy feel.

There was not a rush on this project.  Ellen is a patient girl who was willing to take some time to get things just right.  During our first meeting, we rearranged furniture.


The piano was on the wall by the doors to outside which was fine, but...   


 the "family" desk was on the wall with the shelves which made the space seem too busy.


Ellen was using this tiny desk. 


So, we moved the piano to the shelf wall.  A quick sorting of the shelves to move all the baskets to the bottom helped it look less full.


We put the desk next to the window and sorted through all the papers and files on top and inside to leave the workspace clear.


Ellen found this desk and had Kristin paint it up for her and we used it to replace the tiny desk.


Next we made a list.  Ellen needed to get paint swatches, find a big plant,  purchase new curtains, consider wall art,  purchase a new garbage can, and find some fun accessories in a bold accent colour.  We also decided Kristin should paint up the desk chair in the accent colour. 

Another day I came by to look at swatches.  We chose a slightly bluish white for the walls.   For accent colour, Ellen was happy with orange.

A different day I popped in to look at the painted walls, see two curtain choices and discuss frame options.  I rearranged the shelves and added the orange accent pots.


The final touch had to wait until after Ellen's family vacation.  She took some amazing shots in Florida and had them enlarged and framed.


And the final reveal...

The desk...with a new cute chair I found on Kijiji (upholstery by Kristin).


The piano and shelves (more upholstery by Kristin).


The new plant and curtains.


Ellen's new desk with her fantastic accent chair!


And did you note the Florida shots by Ellen?


See the orange chairs?  Gorgeous.


Thursday, May 26, 2011

The Switch

Once in awhile you just need a change.  Erin and Chris had this great new piece of furniture that needed a spot to live...but they (well, maybe more Erin) also wanted a new look.  So, after a lot of discussion, pondering, sitting, and measuring...we decided to switch her living room and dining room.  As changes go, furniture rearrangement is free, fairly painless, and the worst that happens is you have to move it back.  Which means at least you get a great work out.

Here is the view walking into the living room before:

On your right 

On your left 

T.V.  location

Living room overview

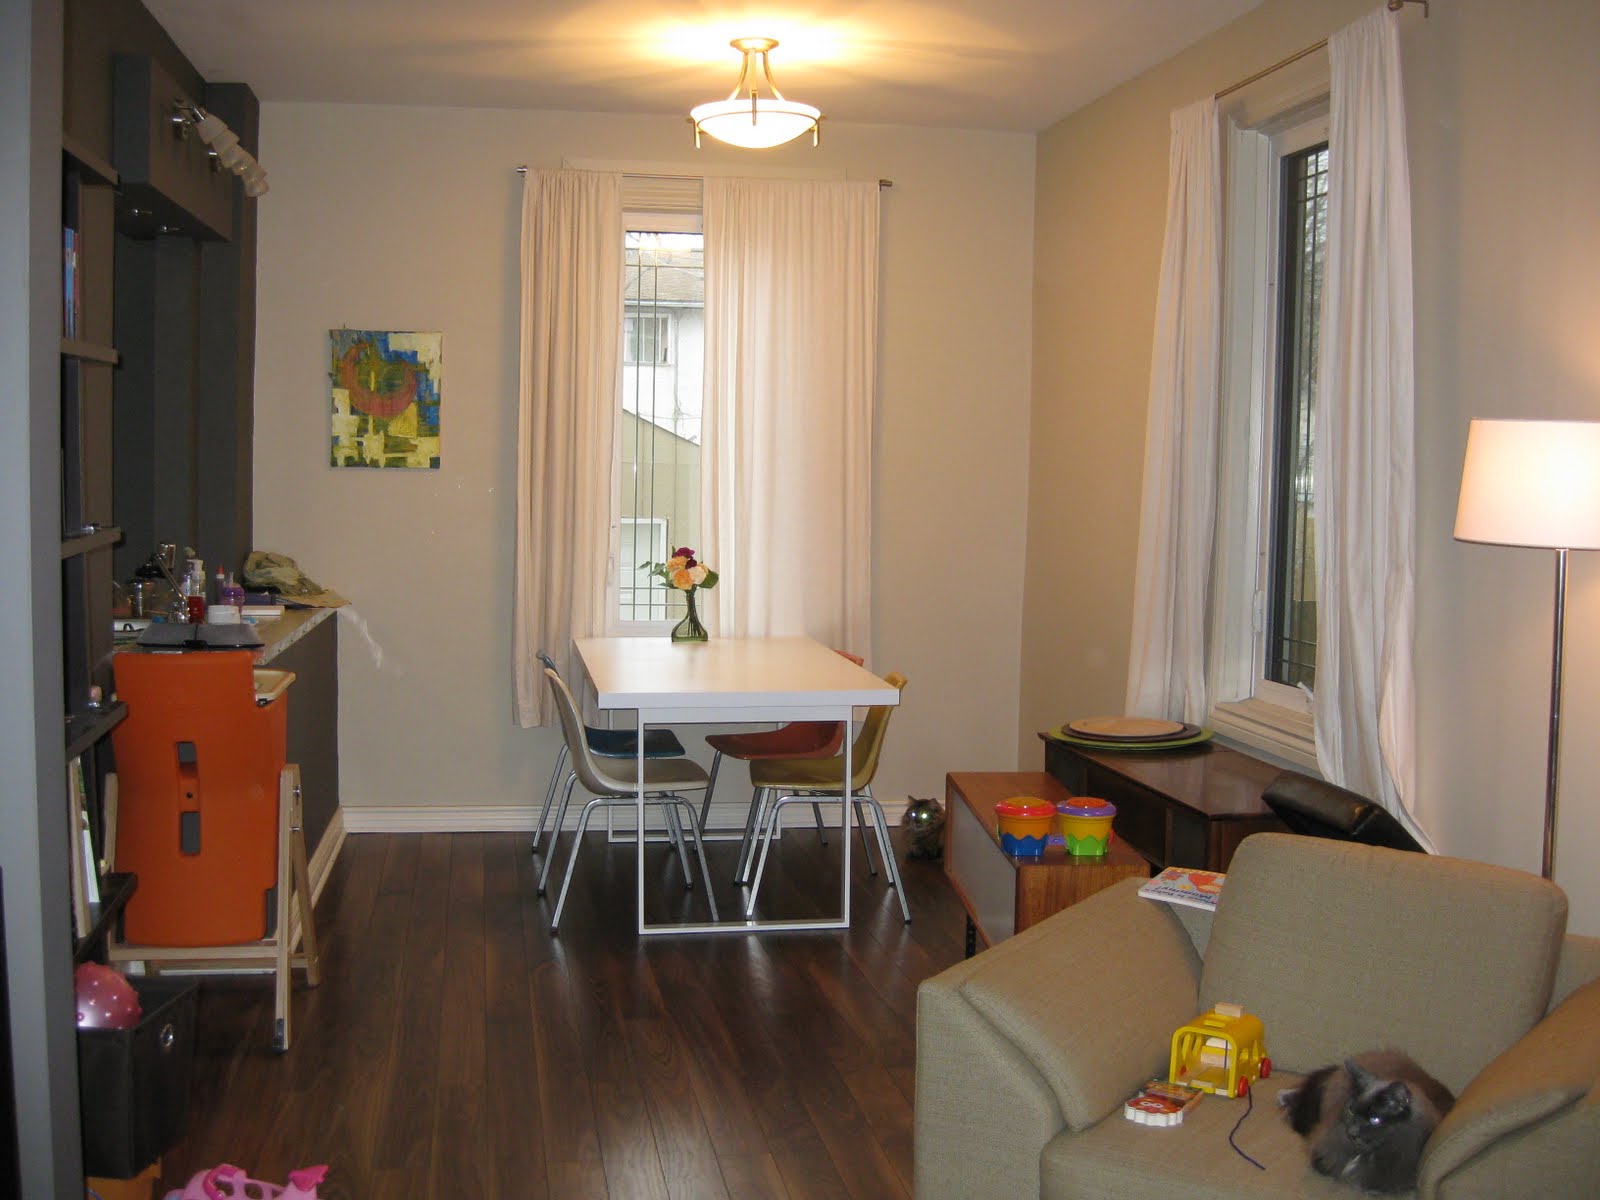
And here is the dining room.  See that funky wood cabinet on the right wondering where he should live?


The SWITCH

Here is the view walking in now:

(Please note:  I apparently stink at before pics and totally missed the before of the black shelves...they were stacked before in the new t.v. location)

On your right

On your left

Old t.v. location

New dining room overview

And here is the new living room.  Now that it is adjacent to the kitchen, Erin can hostess and still be part of the conversation.

New living room in old dining room location

And the new cabinet?  

Funky cabinet's new home
(Yes, those wires got taken care of!)

Monday, May 9, 2011

What Not to Wear

A new friend of mine was in need of a major make-over.  Her look was just, well, tired.  Head to toe mossy green...like a one-piece pant suit.  Ugh!  And out of date gold coloured accessories.  Oy. My husband said it couldn't be done, but I was determined to help her.


Here she is before...yes, her shade is spray painted to match her base.


And here she is after.


Isn't she pretty?!  White spray on the base, fantastic shade find from Home Sense...TA-DA!  I feel Stacy and Clinton would approve.

Wednesday, May 4, 2011

Boys' Room

My two adorable nephews (aged 5 and 3) asked me to organize their room.  Okay.  Their mom did. Corinna wanted to get their closet working in a more efficient way and to do a general redo of the room.

When I arrived, the first thing we did was to empty the closet.  Corinna had already done a big purge so we only had a minimal amount to sort as we worked.  The big wood shelf you see in there was not working well because the boxes on the right didn't come out unless you moved the one on the left.  Annoying right?

Before

So we moved the shelf to where the dresser was.

Before
After
Now the boys can take their toys down easily...as well as put them away with no hassle.  The boxes at the top are hiding items that Corinna would prefer they not touch without supervision...like paint.  The red desk ended up moving downstairs to the toy area there.


The dresser got a new home at the end of the bed.  We had to pop the stereo up out of their baby sister's reach.  (Sorry Anna!)

Before
After


Next we moved the white shelf you see below to the closet.  In its place we put a crate (which you can't see in the after) for the boys to keep a few personal items they like to have close to their beds. You know...Bibles, flashlights...the essentials.

We also had a displaced easel.  Where it had been at the end of the bed it was only accessible from one side, so we wanted to put it somewhere with space enough to use it from both sides.

Before

After

Remember the closet?  The white shelf fits nicely and stores games, toys as well as a whole shelf full of books from the living room.

After

The other half of the closet had a little drawer unit.  Once the big huge wood shelf was gone, the drawers were able to move all the way across to the other side and tuck in the end, kitty corner to the new white shelf...which left this side of the closet...

Before

Empty.  
So, now a whole load of games that are currently stored in the living room are going to move here as soon as Corinna finds appropriate shelving.  

After

And what happened to the empty shelf (where the books came from) at the bottom of this unit in the living room? 

Before
After
It got its own little rearrange.

Tuesday, April 26, 2011

Office Needs

Darla has a new job!!  And along with it, new home office needs.  We had a consultation and decided on some homework; purchase more shelving, a few extra storage boxes and an additional work space.  

Because Darla's book collection had outgrown her current shelving we wanted to add more cube shelves.  Unfortunately, her particular shelves are no longer manufactured in her colour..ARG!  

So, rather than adding to the cubes, I chose instead to replace this unit which was not utilizing a maximum amount of space.   


This new unit has more room and the colour fits in with the existing shelves.


The extra storage boxes got used to hide some work items that needed new homes.  I sorted one category of books and moved them over to provide more space on the cubes.  And all the work binders, folders, etc. are also on this new unit.

The old cube shelves...


now have more space for the book collection to grow.  We also physically moved them over toward the wall with the new unit.


Darla's desk was outgrowing her needs.  


So, we sorted through everything on her work space and kept only what she wanted within arm's reach.   We moved her filing cabinet to the space that was left from moving the cube shelves, and we moved the whole desk over as well.   


And in the spot where the filing cabinet had been...


we now had enough room to add more work space.  This great little table from Kijiji was a steal!


Finally, we tackled the closet. 


We purged what we could and resorted and made sure that homes for items were practical and easy to maintain.


And now, every single, solitary item has a place.  And Darla...has a pretty space.


Sunday, April 10, 2011

DIY Jewellery Frame

I keep seeing these great jewellery frames around, so when Kristin gave me an empty white frame, I decided it was time for a DIY.

Now I need to just explain here, that when I use the term "Do It Yourself", the "Yourself" may not actually mean ME.  It includes my mom, dad, husband, sister...really anyone I can convince to help me out.  

This is where I had been storing my jewellery - two china containers on my bathroom counter.


And this is where I store it now.


My dad cut a board to fit inside the frame and stapled on the fabric I had chosen.  My husband attached the knobs I bought and smaller frames that I had painted.  Then he secured the whole thing inside the large white frame.  Oh, and he hung it for me.

I made sure to measure my necklaces so that I could place the knobs with enough room for the jewellery to hang within the frame.


I used the smaller frames to create interest and definition.


Stick pins hang charms for my favourite necklace.


I'm loving the finished product!  Thanks Dad and Dino!!